Notice! The promotion has been recently updated, changing from $1 for the first month to $9.9 for 12 months, making it even cheaper.
SurferCloud is currently running a promotion where you can get their ULightHost VPS for just $1 for the first month (originally $4/month). This guide will walk you through the process of purchasing the lowest configuration plan at the promotional price. We'll cover registration, configuration selection, payment, and setup, as well as some important tips to keep in mind.
Let's get started!
Step 1: Register a SurferCloud Account
SurferCloud offers three methods for account registration: email and password, Google account login, and GitHub account login. If your browser is already logged into a Google account when you visit the SurferCloud website, a prompt will appear in the upper-right corner asking if you’d like to quickly log in using your Google credentials. For the best experience when registering on SurferCloud, it is recommended to use either Microsoft Edge or Google Chrome.
In this guide, we will focus on registering via email and password.
Steps for Email Registration:
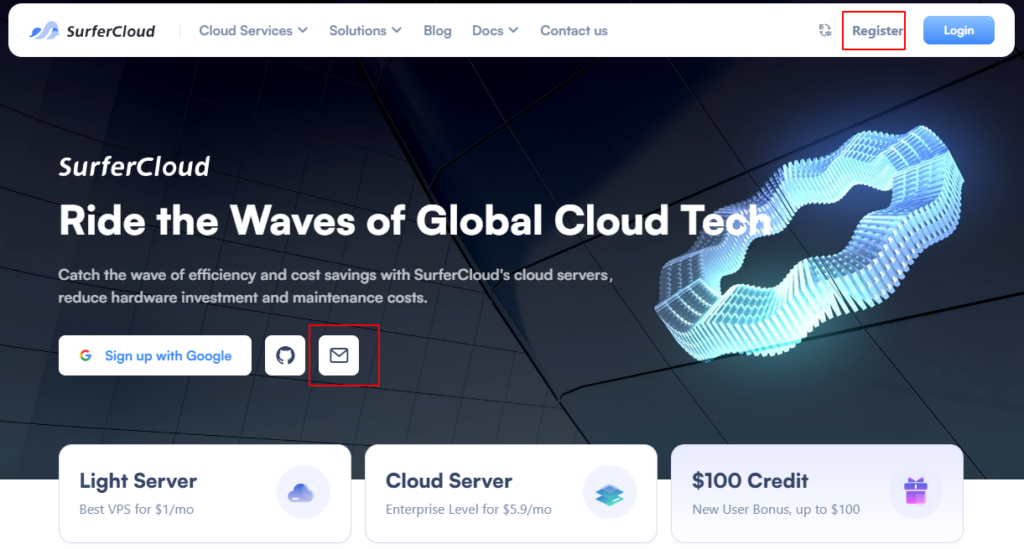
① Visit the SurferCloud Website
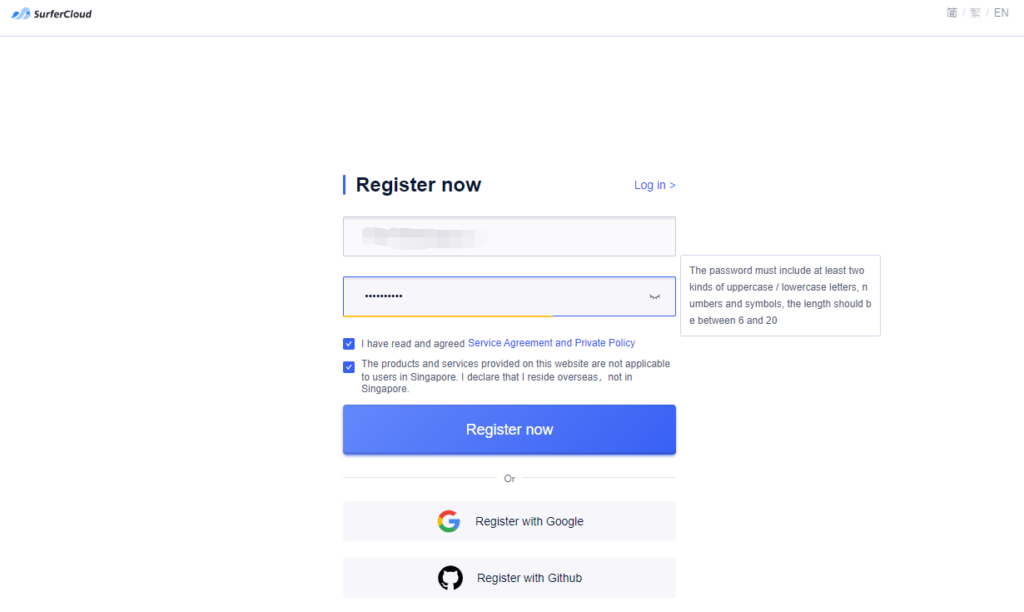
② Input Your Email and Set a Password
- Enter your email address and create a secure password.
- The password must include at least two of the following: uppercase letters, lowercase letters, numbers, or symbols.
- Password length must be between 6 and 20 characters.
- Check the box to agree to the user agreement and confirm that you are not a Singaporean user.
③ Complete Registration
- Click the "Register Now" button to complete the sign-up process.
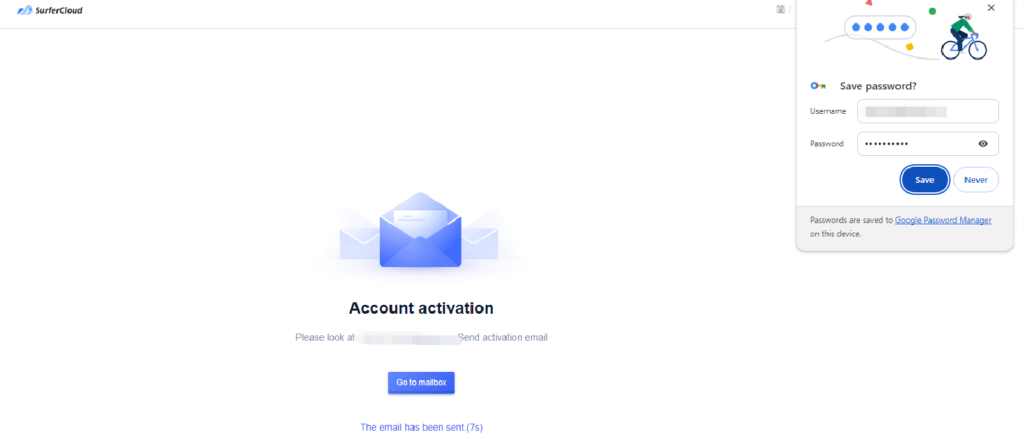
- After clicking the button, a captcha verification will appear. Complete the captcha to verify that you are not a robot.
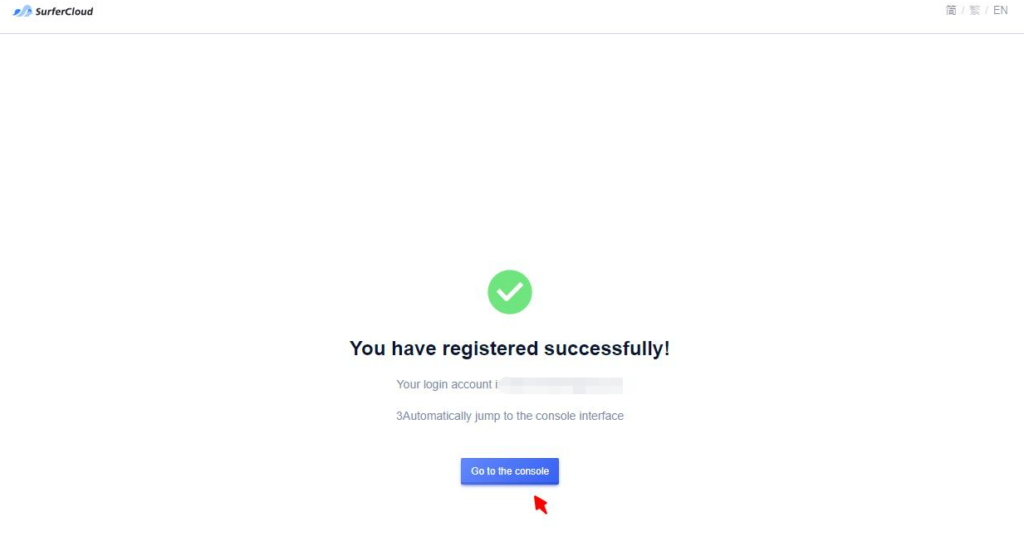
- After successfully passing the captcha, check your inbox for a verification email. Click the link in the email to verify your account.
Step 2: Access the SurferCloud ULightHost VPS Promotion Page
Once you have successfully registered and verified your SurferCloud account, you can take advantage of the ongoing promotions for the ULightHost VPS. To access the promotional page, follow these steps:
① Visit the ULightHost VPS Promotion Page
② Explore the Promotions
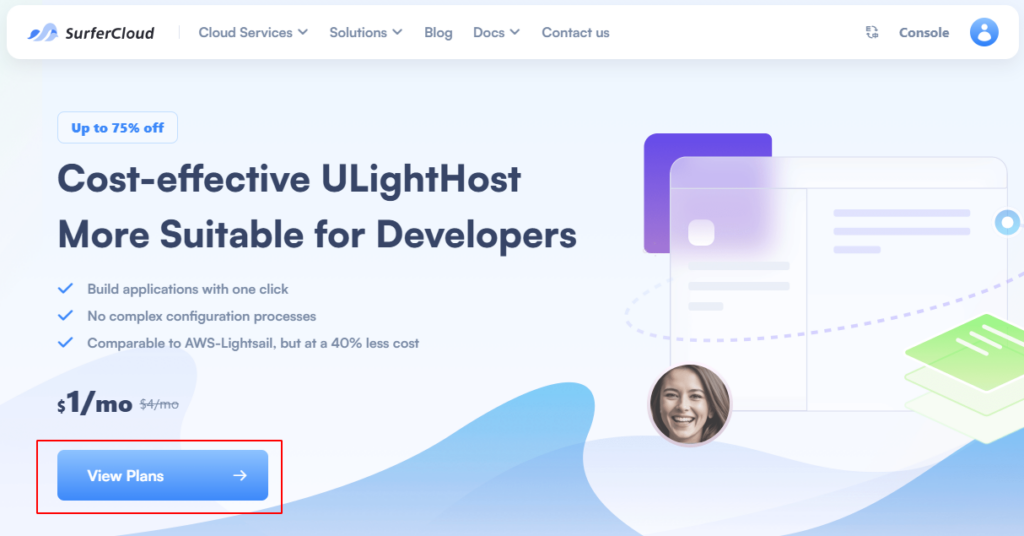
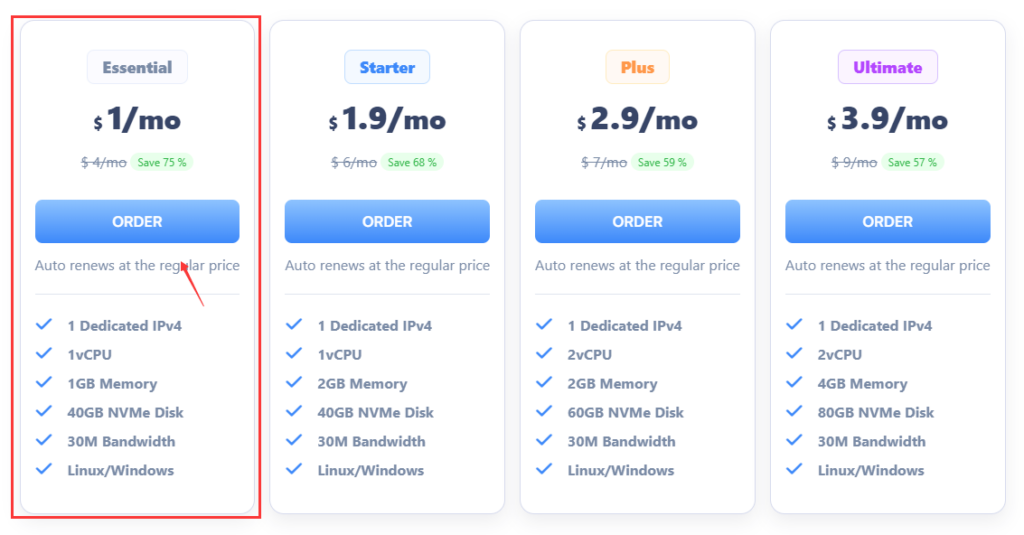
- Click "View Plans" button, you will find details about the current promotional offers, including the first month for just $1 (originally priced at $4/month) for the lowest-tier plan.
- Choose the essential package, and click "ORDER" button to complete your order.
- Review the features, pricing, and specifications of the ULightHost VPS plans to find the one that best suits your needs.
③ Proceed to Order
- Once you’ve decided on the plan you want, you can proceed to place your order by following the on-screen instructions provided on the promotional page.
Step 3: Configure Your ULightHost VPS
As you continue with your order for the ULightHost VPS, you will need to make several important selections and configurations. Here’s how to proceed:
① Select the Node Location
- Begin by choosing your preferred node location. For example, you might select Singapore, but feel free to choose any node that best meets your needs and target audience.
② Choose the Operating System
- Next, select the operating system that suits your requirements. While CentOS 8.4 is one option, you can also choose from other popular operating systems such as Ubuntu, Windows, or Debian. Each operating system has its unique advantages, so consider your specific use case when making this selection.
③ Set Traffic Package Size
- After selecting the operating system, specify the traffic package size. Choose a package that aligns with your anticipated usage to ensure optimal performance and avoid overage fees.
④ Choose the Payment Cycle
- Select your preferred payment cycle. You can opt for either the first month (for just $1) or the three-month cycle. Make sure your choice aligns with your budget and expected usage.
⑤ Set the VPS Password
- Enter a secure password for your VPS. This password is essential for accessing and managing your server, so ensure it meets security guidelines.
⑥ Finalize Your Order
- Once you have configured all the necessary settings—node location, operating system, traffic package size, payment cycle, and VPS password—click the "Buy Now" button. This action will take you to the payment options page where you can complete your purchase.
Step 4: Choose Your Payment Method
In this step, you will select your preferred payment method to complete your purchase of the ULightHost VPS. You have three options available: Cash Acount, Credit Card and Crypto.
For more details:
Payment Methods at SurferCloud: Stripe & Cryptocurrency (via Triple-A)
Important Notice Regarding Payments During Promotional Campaign
① Selecting Cash Account
② Selecting Credit Card
- Payment is processed through the third-party platform Stripe, which supports not only credit cards but also debit card payments.
③ Selecting Crypto Payment
For more details: Payment Methods at SurferCloud: Stripe & Cryptocurrency (via Triple-A).
- If you prefer to pay with Crypto, select this option. Note that the Crypto payments are processed through TRIPLE-A.
- Do not close the pop-up reminder before successful payment. If you complete the payment within 5 minutes, the system will automatically recognize it and create the instance for you.
- If payment is not completed within 5 minutes, a confirmation button will appear on the interface. Once you have finished the payment, you will need to manually click the "I've already paid" button to successfully create the instance.
- wait for the current page to automatically redirect to the Tiple-A payment page, where you can select a cryptocurrency: BTC, ETH, or USDT.
- Wait for the browser to automatically open the Triple-A payment page, where you can select a cryptocurrency: BTC, ETH, or USDT.
- It is recommended to use the scan-to-pay option, and please note the payment deadline. After the deadline, the TRC20 address and QR code will change.
- When payment is not completed within 5 minutes, please return to the SurferCloud purchase interface and click the "I've already paid" button.
- A pop-up notification appears, confirming that the VPS purchase was successful. Click " Go to console" button.
- Click "1", you can see the details about your VPS.
With this, we have completed the process of "Buy SurferCloud ULightHost VPS for $1 in 1st Mo." Now, enjoy it!
Finally, please note that if you exceed the monthly traffic package limit of the plan you purchased, the excess traffic will be billed based on the outgoing bandwidth consumed (only counting outbound traffic), at a rate of $0.10 per GB. For more details: SurferCloud ULightHost Pricing Structure and Package Details.


